My living room walls were looking a little empty. Inspired by some Pins, I decided to give it a go with string-and-nail art.Online tutorials were all similar - wrap string around nails in and make it up as you go along. And that's precisely what I did!
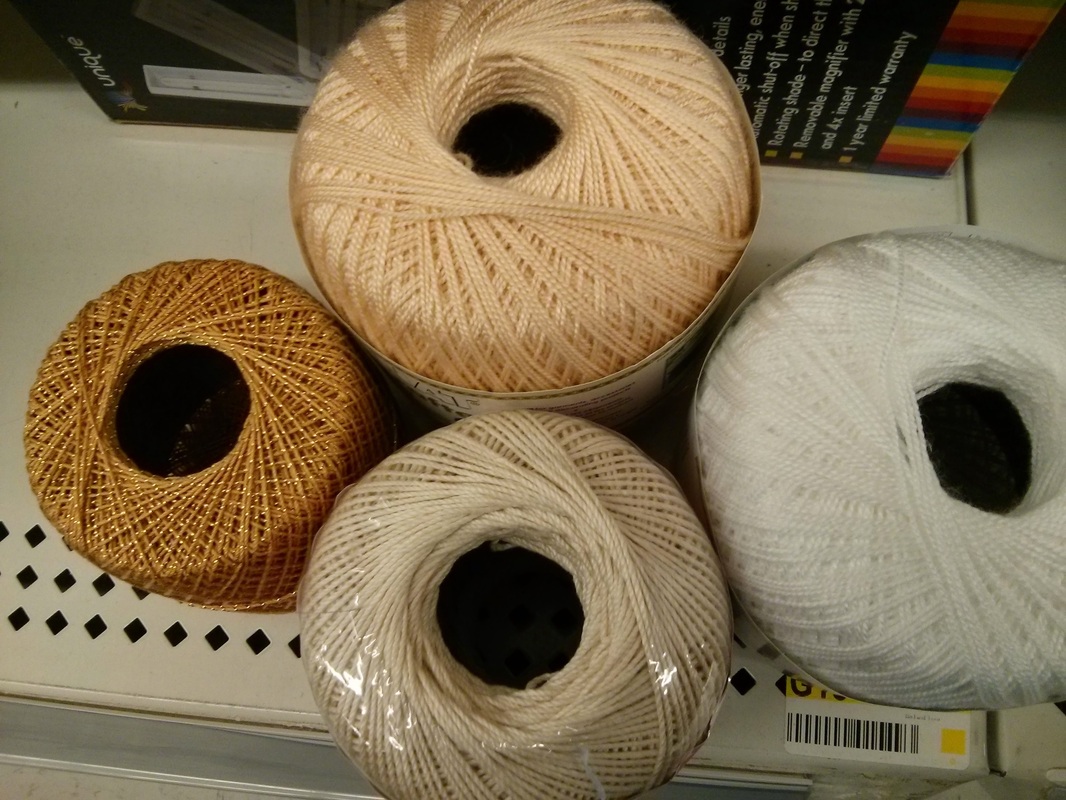
Materials I used: wood or fibreboard, acrylic paint, 1 1/4" finishing nails, embroidery thread, super glue.
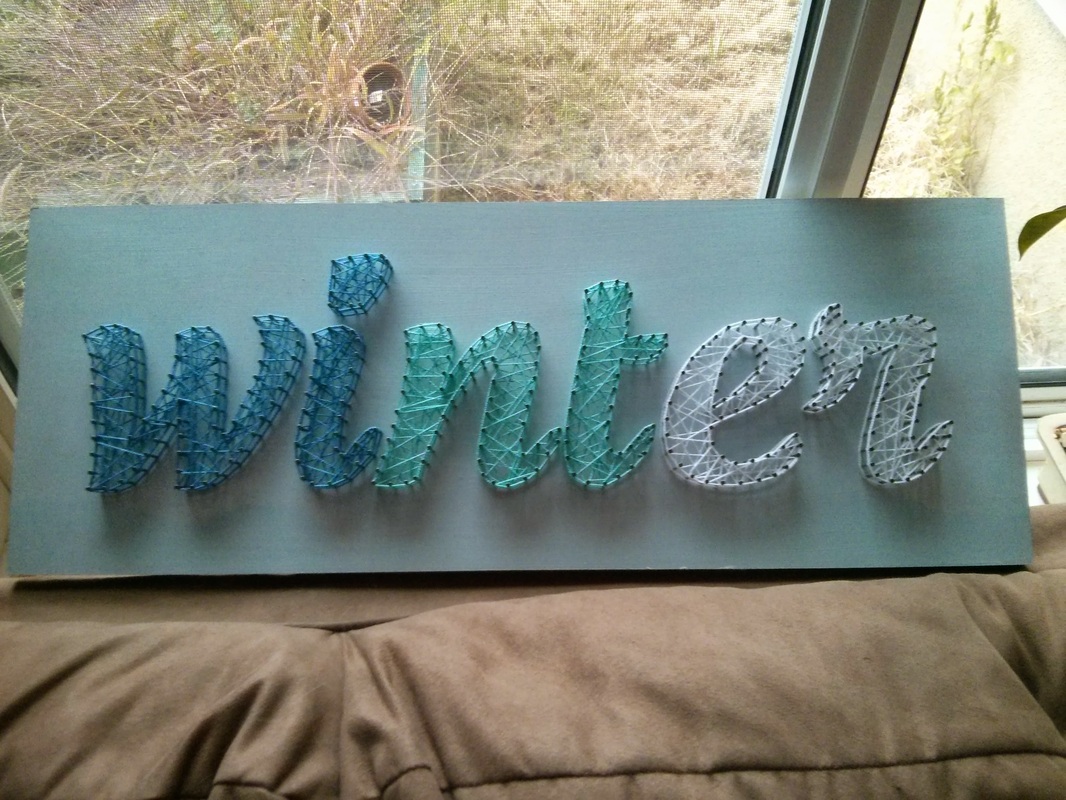
First string art project: "winter"
Materials I used: wood or fibreboard, acrylic paint, 1 1/4" finishing nails, embroidery thread, super glue.
First string art project: "winter"
- I chose to make a light blue colour, inspired by my friend's recent fondness for the colour "eau de Nil".
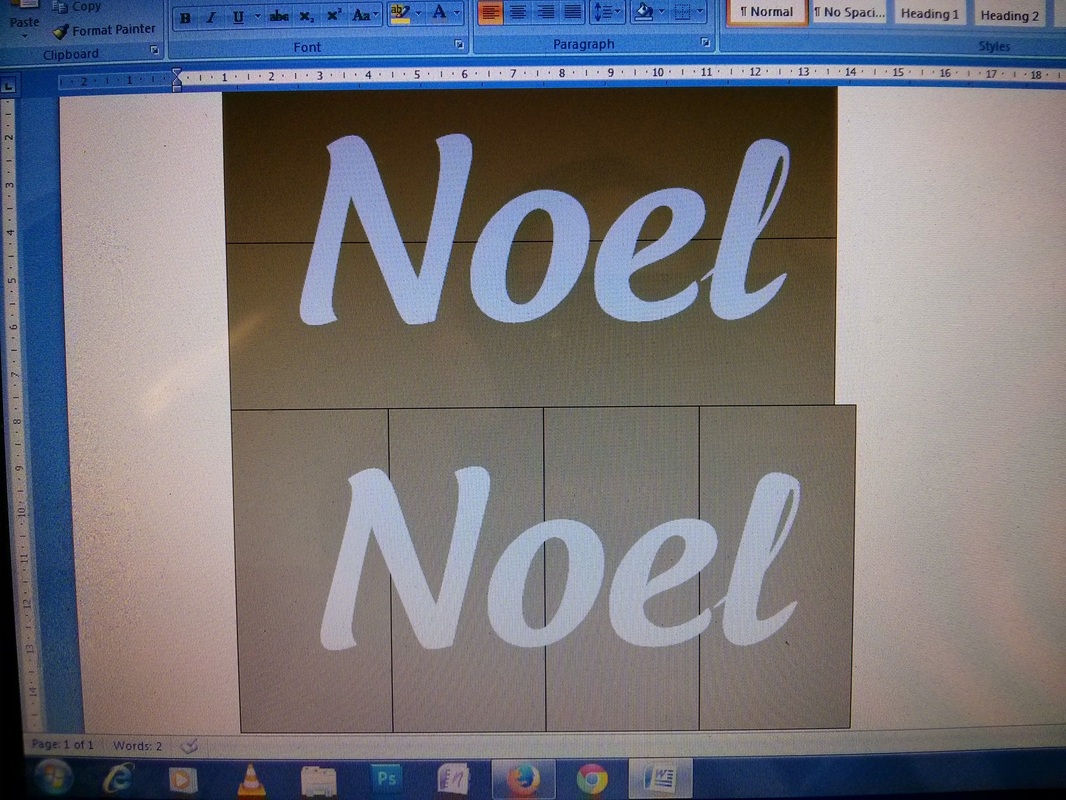
- For my first string art, I chose the world "winter". I downloaded a free font called "Androgyne".
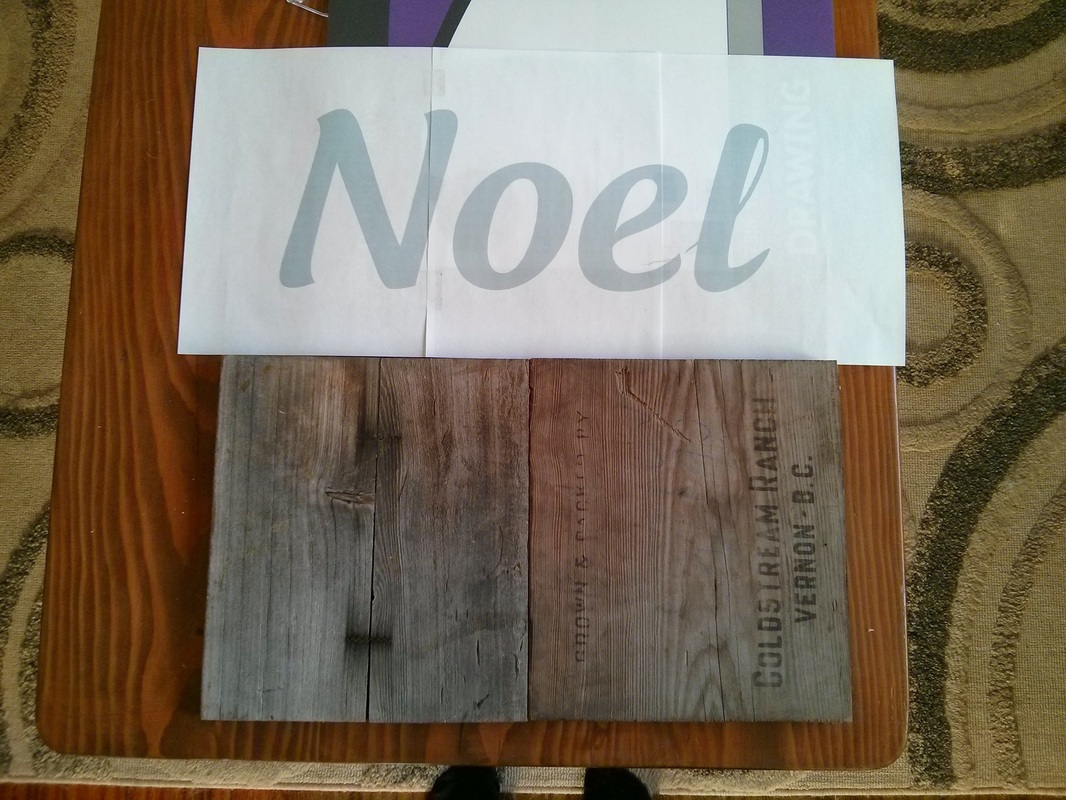
- I used Microsoft Office Publisher to create a custom poster that matched the exact size of my board. That way, when I printed it off, I would know that it was the exact proportions that I desired.
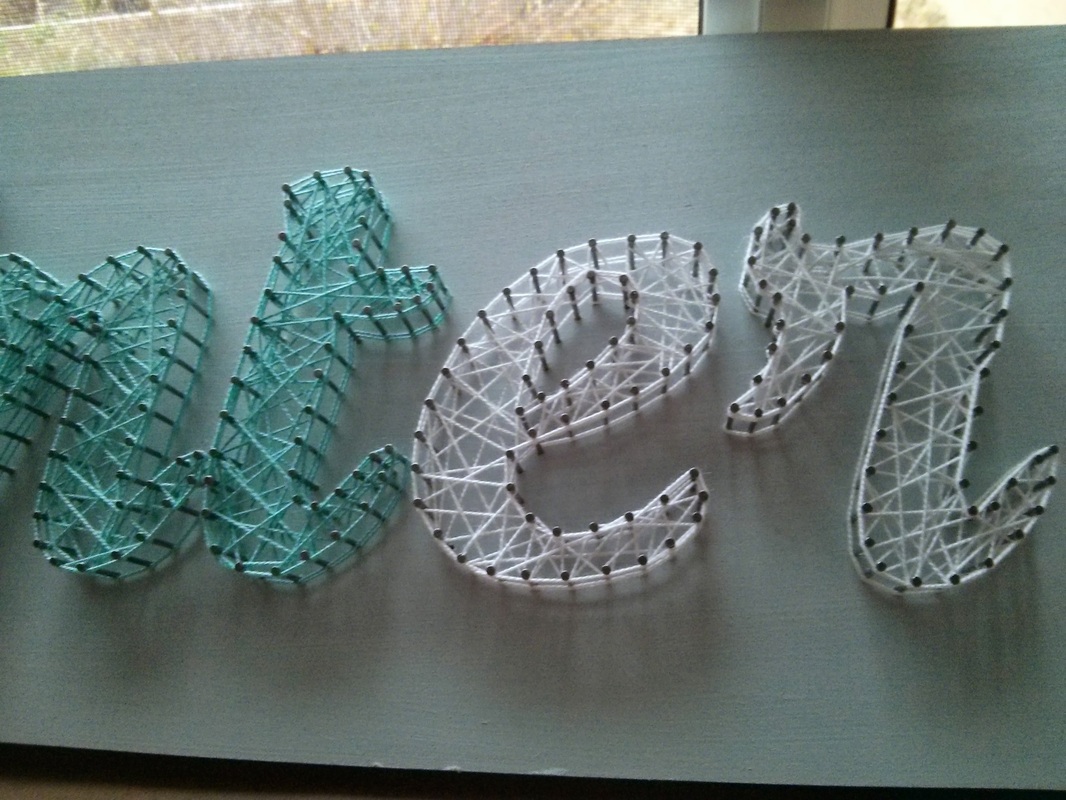
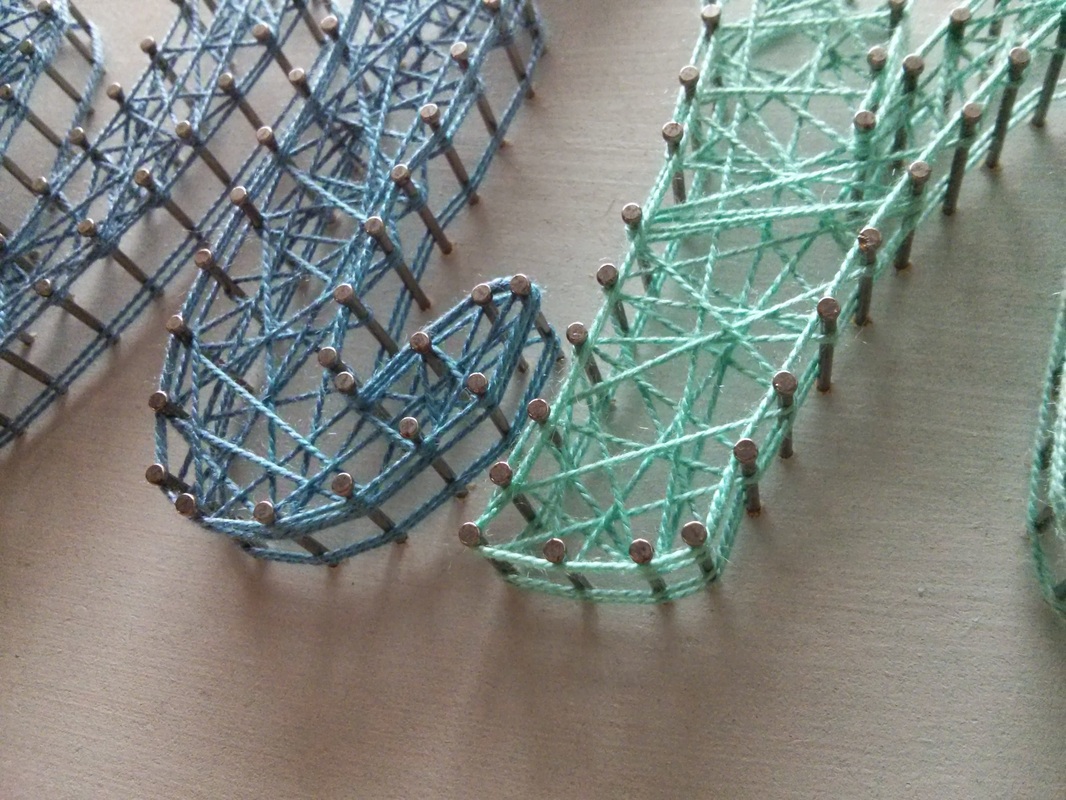
- When marking the spots for the nails, I did 1 cm spacing for the most part, and just a bit closer together around the tighter curves so that it didn't look too angular.
- Optional: I used a drill press to pre-drill my holes.
- First you tie the thread around one nail and then start threading around the nails. You can have a plan (like zig-zag, spray pattern, outline-online) or you can just wing it. I definitely made it up as I went.
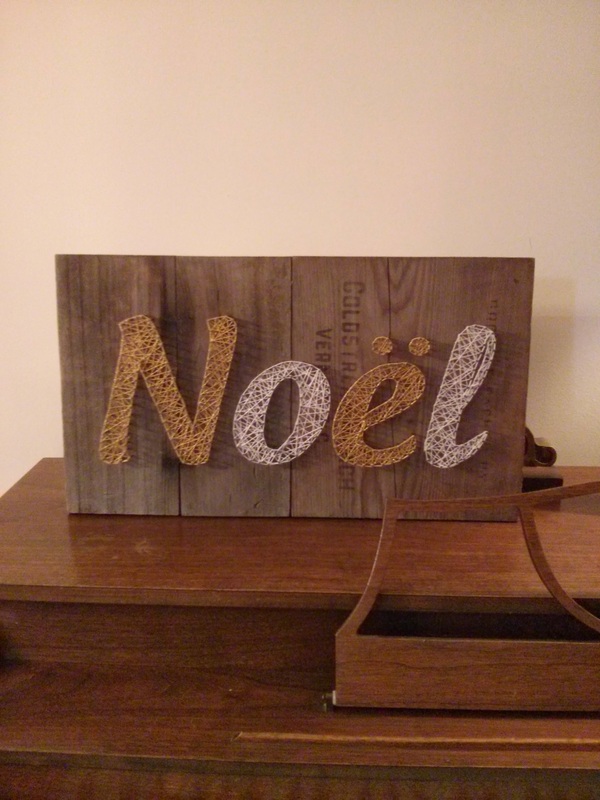
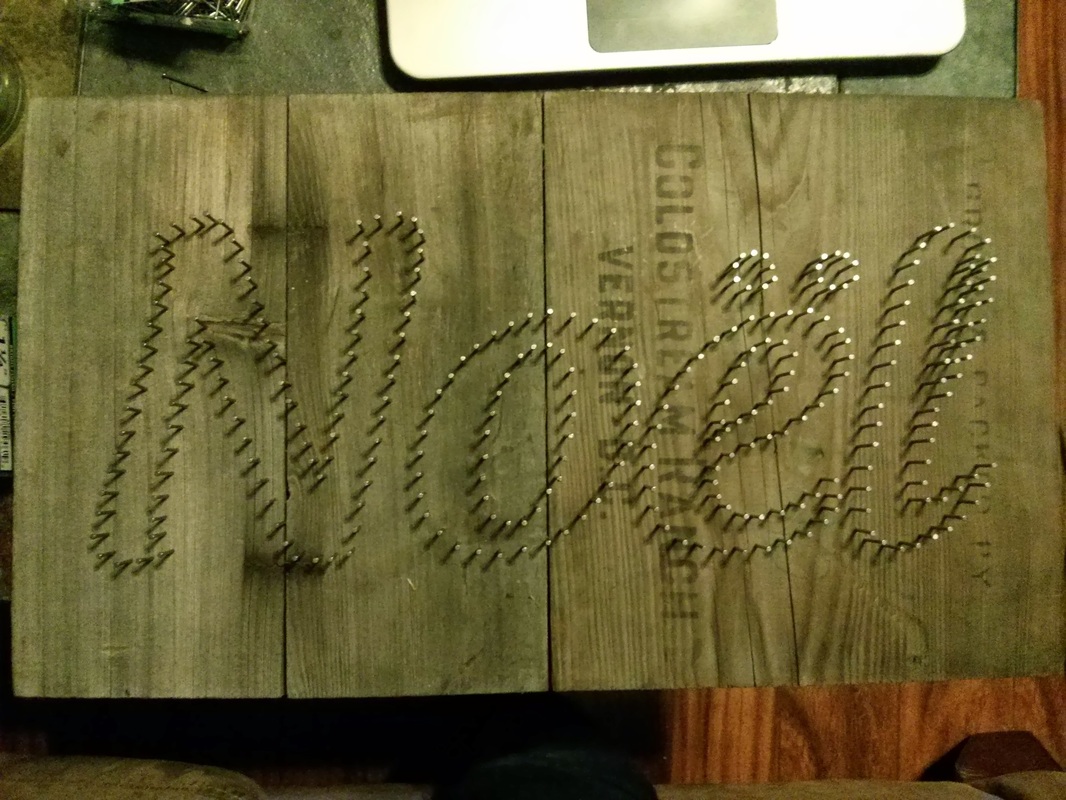
Second string art project: "Noël"
My sister Britt had a broken apple box that was headed for the dump. We opted to reuse it for another string art project. With a lot of hammering with a mallet, Dan was able to break it down into useable pieces. The end pieces were perfect for a ~10x20" wood backing.
Happy birthday, Britt!
My sister Britt had a broken apple box that was headed for the dump. We opted to reuse it for another string art project. With a lot of hammering with a mallet, Dan was able to break it down into useable pieces. The end pieces were perfect for a ~10x20" wood backing.
Happy birthday, Britt!
 RSS Feed
